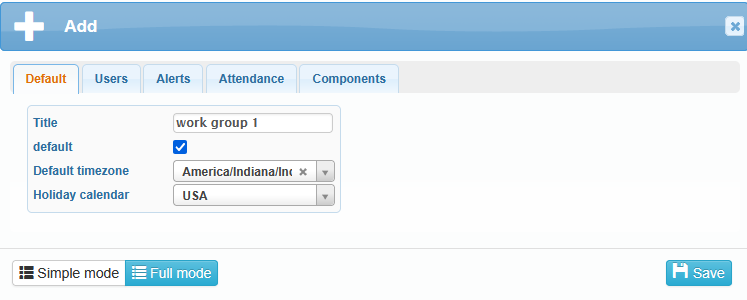
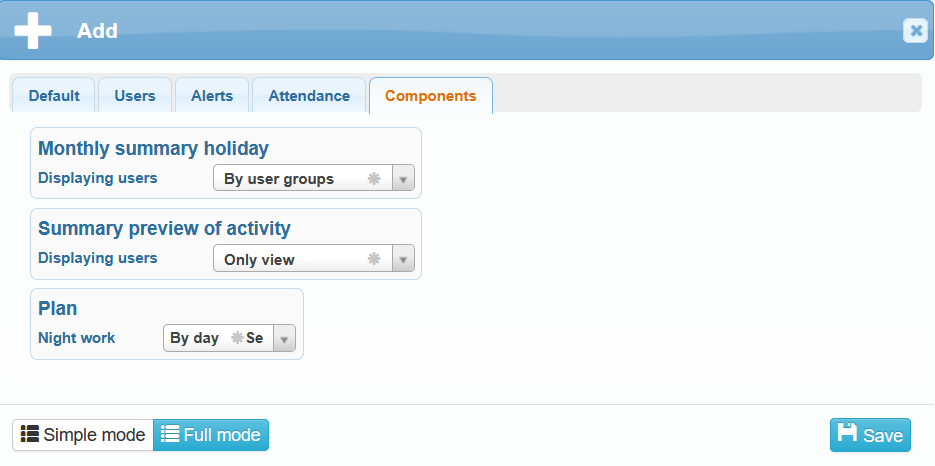
The work groups purpose is to divide users into groups based on common characteristics. It’s up to you, what group naming and sorting you choose. It is possible to assign work groups to the Work shifts.
Creating a New Work Group

Click , name the group and set whether it should be the default group. There is only one default work group, which is pre-selected when creating new users. You should also select the default time zone and holiday calendar.
The holiday calendar defines public holidays and non-working days for all users in a work group. It can either be inherited from the company settings or you can assign a different holiday calendar specifically to the work group.
If needed, a different holiday calendar can also be set for individual users via Administration → Users → edit User → General tab, where you can define the calendar that applies to the selected user.
The holiday calendar is either inherited from the work group (which in turn may inherit it from the company or have its own calendar), or a custom calendar can be assigned directly to the user.

In the Users tab, select either entire user groups or individual users to be included in the group you have created. These users are selected from the Work Groups (if available) or from the Default group.

In the Notifications tab, you can enable or disable the sending of automatically generated emails related to the following events:
Personal access errors
Access errors from users
Unprocessed user activities
Requests from users
User end time
New user created
User deactivation
GDPR
User did not come to work
Pending requests
High alcohol content
Alcohol tester calibration
Alcohol testing not performed
The settings are automatically inherited from the parent company. If you wish to change them, select Yes or No for each option.
If a user has an attendance error, an email titled SYSDO – Attendance Error is sent to them. The user must have a valid email address entered in Administration → Users → edit User → General → Contacts section.
An additional email with the user’s attendance error can also be sent to another address. This secondary email must be specified in Administration → Users → edit User (Advanced Mode)→ Alerts → option “Send alert to another email.”
When a user submits a request, the attendance supervisor (the user assigned to oversee the requesting user) receives an email titled SYSDO – New Request. The supervisor must have a valid email address entered in Administration → Users → edit User → General → Contacts section.

You can configure attendance details for a new work group in the Attendance tab.
If the group follows a flexible work schedule, you can specify whether users are allowed to visit a doctor or go on a business trip during the flexible part of their shift.
You can also control attendance by enabling a notification that alerts you when a user from the group does not arrive at work. In this case, you can define how long before the shift start you want to receive the notification.
The Break section includes an option to decide whether smoking breaks should be deducted from lunch breaks.
In the Activities section, you can choose to automatically preselect the last used activity as the new one.
According to your preferences, you can also set time limits for transferring unused work hours.
In the Surcharges section, you can define afternoon, night, and other shifts, as well as specify the percentage bonuses for work performed during these times.

In the Components tab, you can configure whether the Monthly summary holiday is displayed for all users / by user group or only for users under your supervision. The same applies to the Summary preview of Activities, including the option to view only your own activities.
The final section in this tab allows you to define the Night Work Plan based on either the date or the shift:
By Day – If a shift crosses midnight (e.g. 22:00–06:00), 2 hours are counted toward the day the shift started, and 6 hours are counted toward the following day.
By Shift – The entire shift is counted toward the day it started.
All default settings are inherited from the company-level configuration.
Editing a Work Group

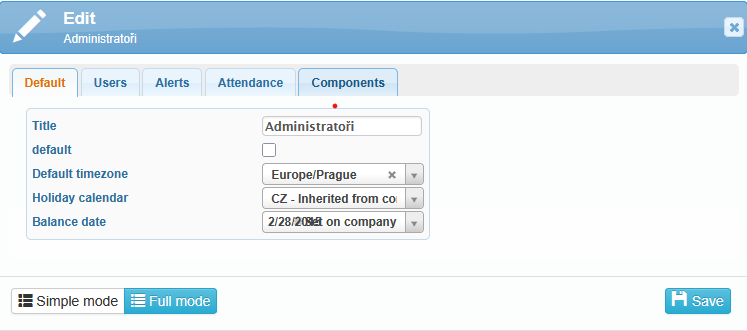
You can edit a work group by clicking the icon located in front of the selected group.
The settings structure is the same as when creating a new work group, with one exception — the Balance date setting in the General tab.
By default, the accounting closure is set to the last day of the previous month, but you can define a custom date if needed.
Visibility in the Presence Overview
You can define who can see whom in the Presence Overview within the User Groups section.
Here, you can select which groups or users a particular group can monitor, and vice versa — who can monitor the selected group (e.g., a group of supervisors).