Add user ![]() / Edit user
/ Edit user ![]()
Enroll user ![]()
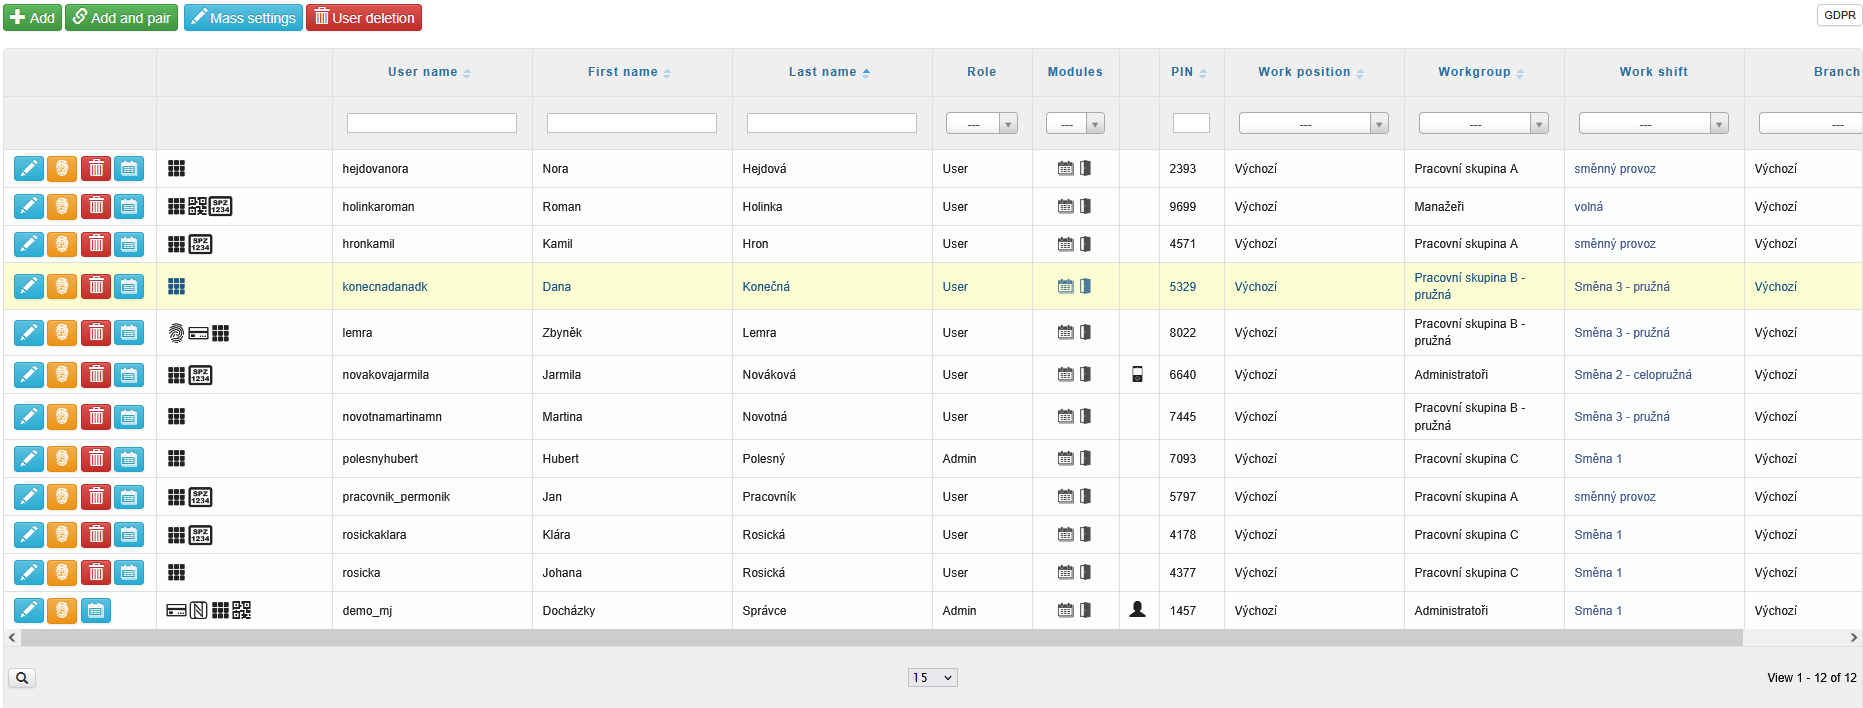
The overview table displays saved users and information about them. In the top-left corner, you can use the icon ![]() or
or ![]() to add new users. Another icon
to add new users. Another icon ![]() allows you to select users for bulk actions, and a forth icon
allows you to select users for bulk actions, and a forth icon ![]() lets you delete users based on selected criteria.
lets you delete users based on selected criteria.
In the left column of the table, you will find icons for each user to edit, load, delete, or view their daily schedule ![]() . The other columns provide the following information:
. The other columns provide the following information:
Enabled authentication methods (e.g., password, QR code, fingerprint, etc.)
User name = login
First name
Last name
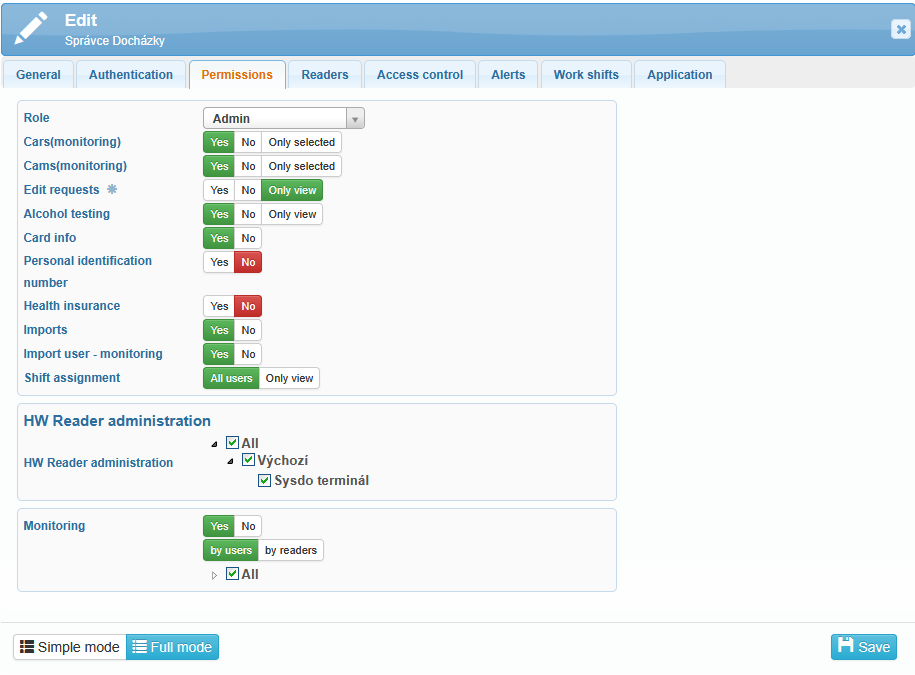
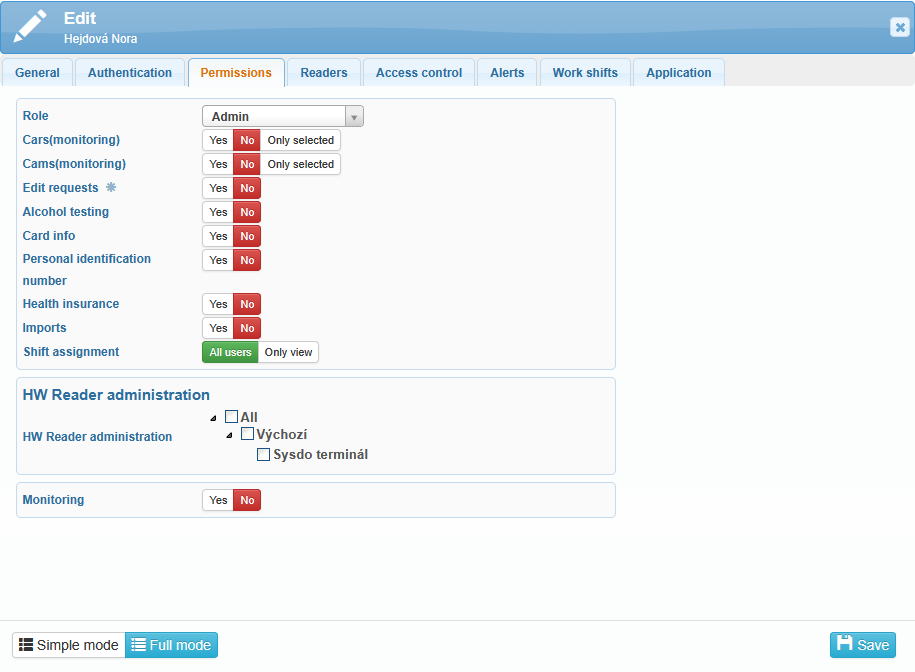
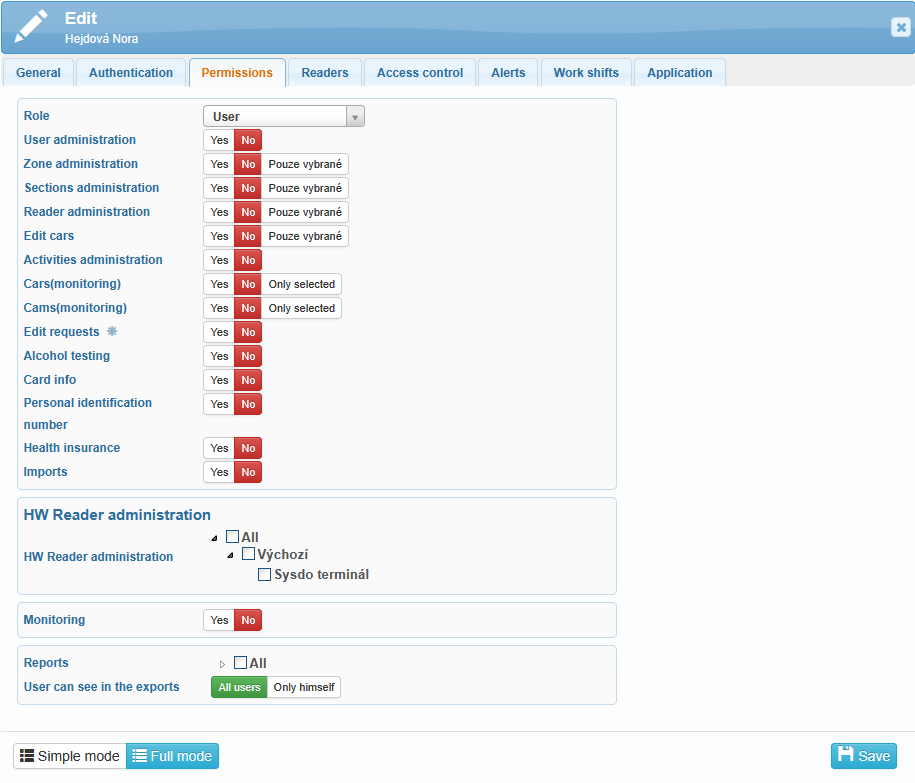
Role (administrator, user, visitor)
Module (attendance, access)
Supervision (reader supervision, user supervision)
PIN
Work position
Work group
Work shift
Branch
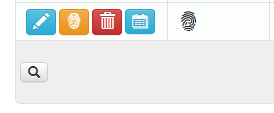
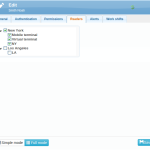
Each column header contains a dropdown menu that allows you to filter users. A search filter, marked by a small magnifying glass icon located below the last user in the list, can be used to quickly find users—especially useful when managing a large number of users or when reactivating users who return for seasonal work after previously being deactivated.
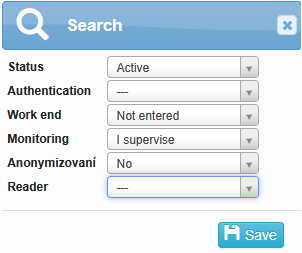
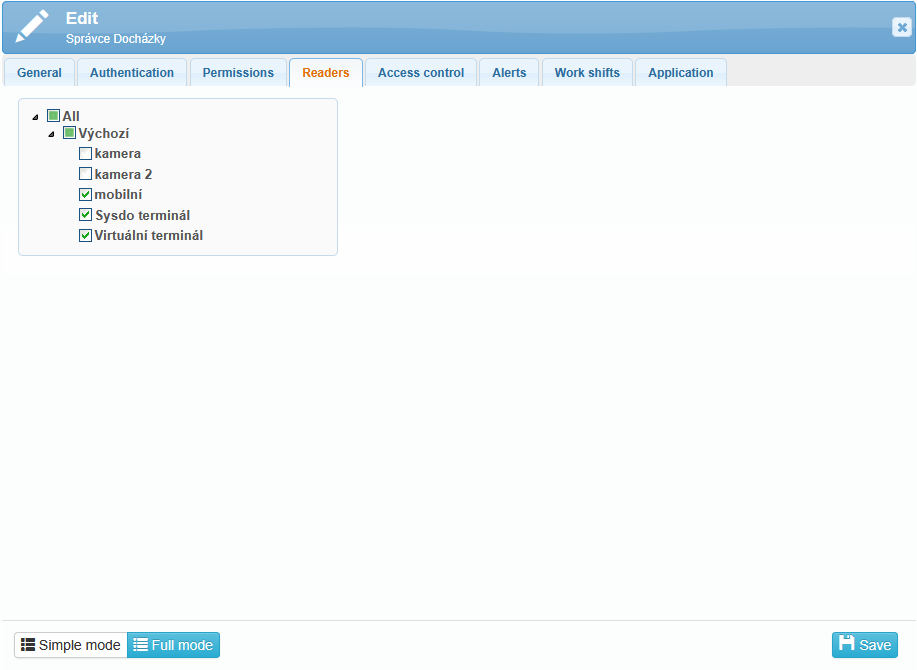
Users can be filtered by Status, Authentication, Work end, Monitoring, Anonymization, or Readers.
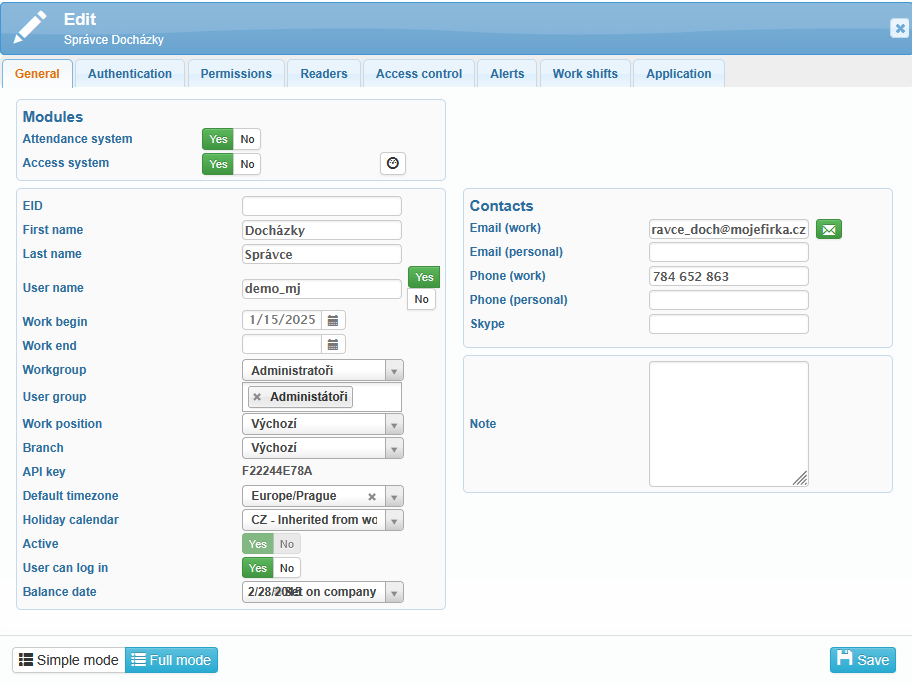
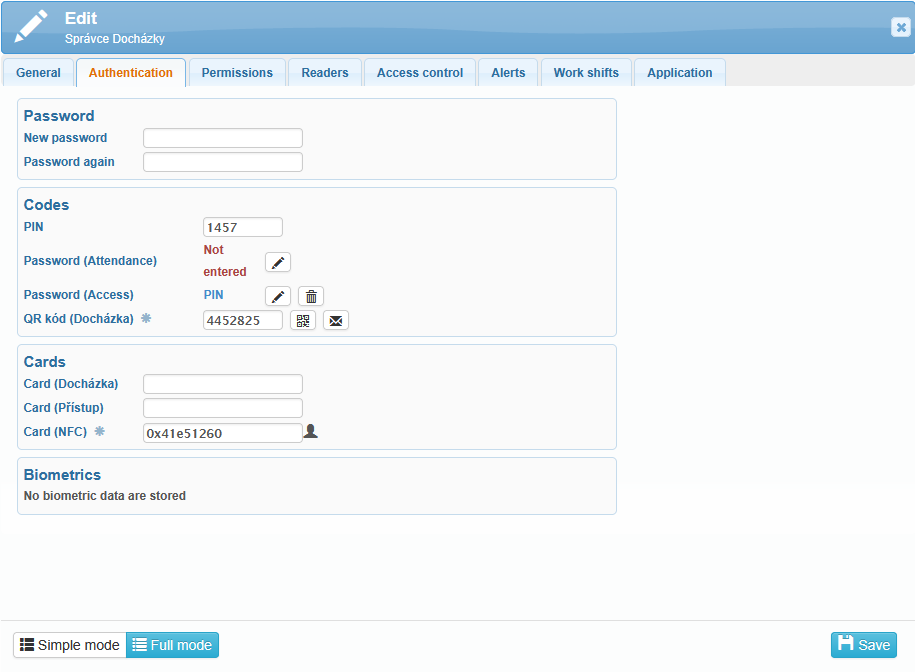
In the Authentication tab, you can enter passwords, PIN codes, or cards for identity verification in the attendance or access system.
The PIN code is used for verification on the BioPad-A, ZPad, Virtual, and Application readers. The password (Attendance) is used for verification via password on the Face readers (SYSF203, SYSFX9).
Verification process on the Face (SYSF203) reader:
On the reader’s screen, select the lock icon (top right corner).
The reader will prompt you to enter the user ID – enter the user’s PIN.
The reader will prompt you to enter the password (Attendance) – enter the user’s password.
Verification process on the SYSFX9 reader:
Enter the PIN.
Press the OK button.
The reader will prompt you to enter the password (Attendance) – enter the user’s password.
Press the OK button.
The password (Access) is used for verification via password on the SYS-WB85, SYS-A2PRO, SYS-A21, and SYS-A22 readers.
In this tab, you can also enable user verification via QR code from the mobile app.
User verification via QR code
In the Codes section – QR Code (Attendance), click the Generate QR Code icon ![]() , which will create an eight-digit number in the empty field. Then click to view
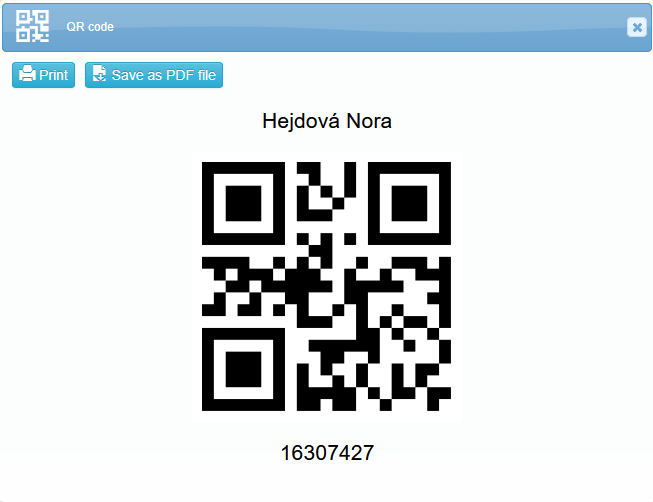
, which will create an eight-digit number in the empty field. Then click to view ![]() the QR code, or choose to send it to the specified email
the QR code, or choose to send it to the specified email![]() , print it, or save it as a PDF file.
, print it, or save it as a PDF file.
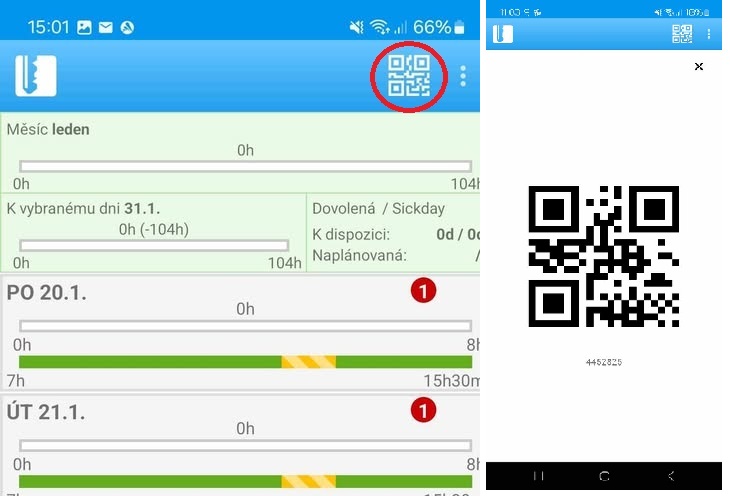
The user will see the QR code in the SYSDO mobile app, displayed via an icon in the top-right corner, up to one minute after saving the edit. Tapping the icon will display the QR code, which the user can use for verification via the SYSDO terminal mobile app or an external SYSAQR6 reader.
The Attendance Card is compatible with the following readers: TSG550, TSG750, Face, BioPad-A, ZPad, SYSFX9. The Access Card is compatible with the following readers: SYS-A21, SYS-A22, SYS-A2PRO, SYS-F91E, SYS-WB85. The NFC Card is compatible with the following readers: Hikvision DS-K1T671M, Hikvision DS-K1T671MF, SYSFX9 (with an external NFC reader), and the SYSDO Terminal app if the phone or tablet has an NFC reader. You can find the procedure for adding a terminal to SYSDO, installing the apps, pairing them with SYSDO, and finally using NFC cards for verification here.


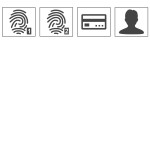
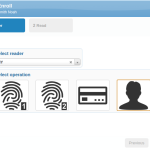
Enroll authentication data 
When creating a new user, after filling out all necessary information, click on Save and enroll. If there is already created user, for assigning authentication data, use the orange button Enroll.
Enroll from web application
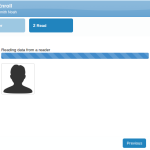
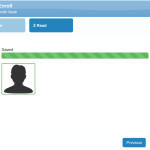
![]() Follow the instructions on the reader. Look into the camera, face should be in a white frame and surrounded by a green frame. Once the enroll is successful, click on the Next button.
Follow the instructions on the reader. Look into the camera, face should be in a white frame and surrounded by a green frame. Once the enroll is successful, click on the Next button.
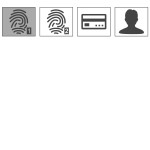
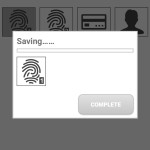
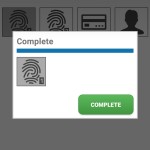
![]() Follow the instructions on the reader. The reader will ask for putting the finger on the scanner, fingerprint needs to be scanned three times. After successful enroll, click on the Next button.
Follow the instructions on the reader. The reader will ask for putting the finger on the scanner, fingerprint needs to be scanned three times. After successful enroll, click on the Next button.
![]() Follow the instructions on the reader. Put the card near the reader, the reader scans unique card number. Confirm this number and click on Next in the application.
Follow the instructions on the reader. Put the card near the reader, the reader scans unique card number. Confirm this number and click on Next in the application.
![]() Make sure that you have allowed access to the reader for individual users.
Make sure that you have allowed access to the reader for individual users.
Enroll from mobile application