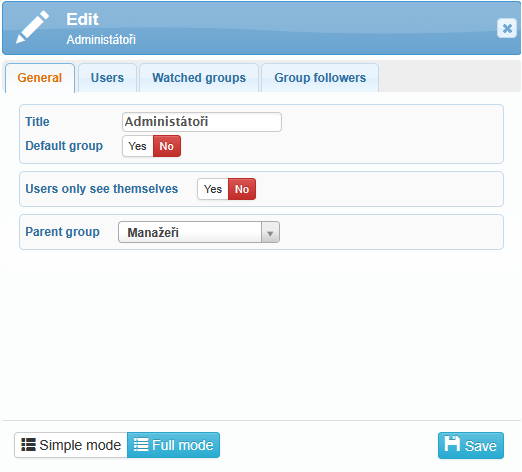
1) Click ![]() , name the group and set whether it should be the default group. Also decide whether users should see only their own presence or also the presence of other group members. You can also assign a parent group to this group.
, name the group and set whether it should be the default group. Also decide whether users should see only their own presence or also the presence of other group members. You can also assign a parent group to this group.
2) Select either entire user groups or individual users to include in your newly created group. Choose users from existing Work Groups (if any have been created) or from the Default group.
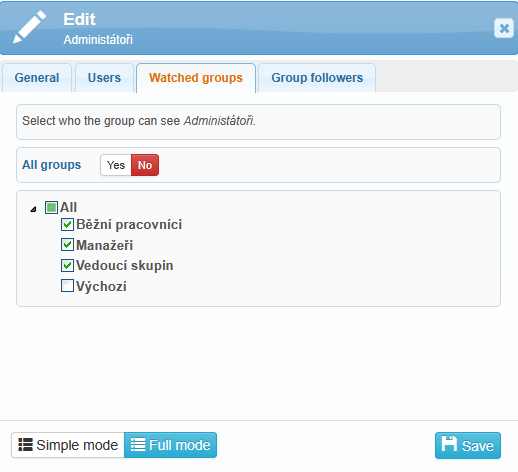
3) Choose which other groups this group should monitor. This can be all groups or only selected ones.
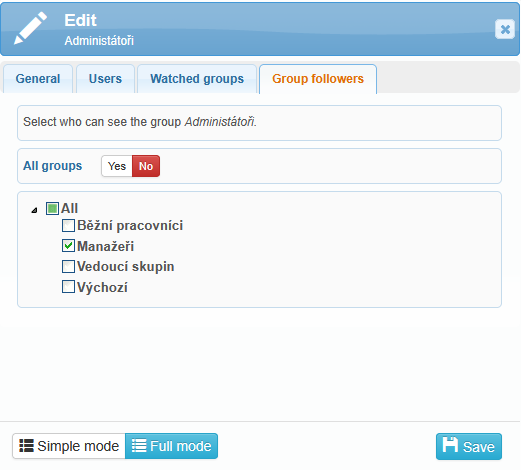
4) Define who can view this group. For example, this might include a group of supervisors or managers.
You can edit a user group by clicking the icon ![]() located next to the group name. The configuration structure is the same as when creating a new user group.
located next to the group name. The configuration structure is the same as when creating a new user group.
In the General tab, you can edit the group name, set whether it is the Default group, define who users can see, and select a parent group.
In the Users tab, you can manage which users are assigned to the group. You can choose from Work Groups or from the Default group. The symbol ![]() indicates that a user is already assigned to another group.
indicates that a user is already assigned to another group.
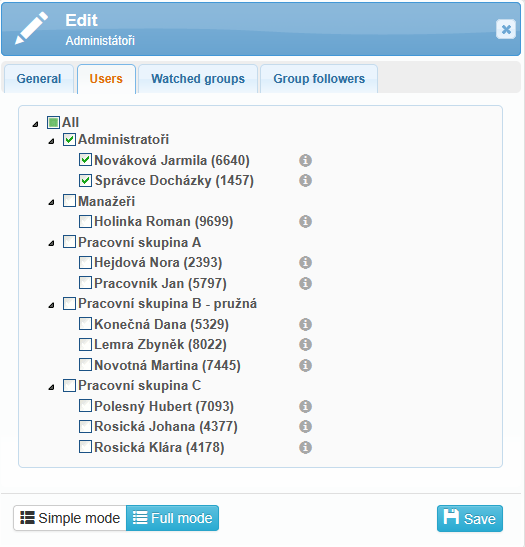

In the bottom left corner, there is an icon ![]() that allows you to filter active or inactive users.
that allows you to filter active or inactive users.