The Door settings window is located in the top menu bar under the drop-down list Access Control.
Door overview table
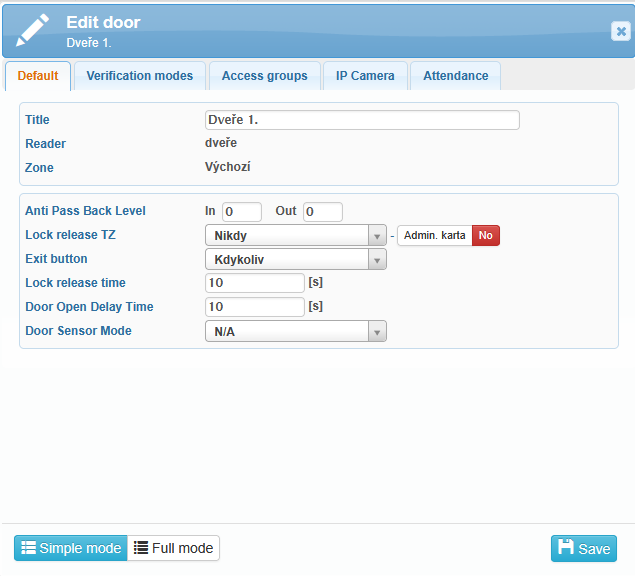
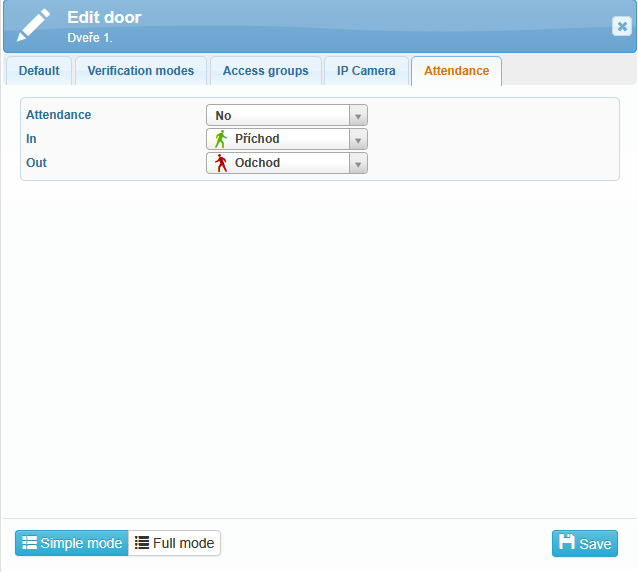
Edit door
In the upper section, there are fields for entering the door Title, Reader, and Zone. The lower section contains the following settings:
Anti Pass Back Level
Lock Release TZ
Never – the lock is released only after successful authentication
Always – the lock is constantly released
Exit Button
Never – the exit button is disabled
Always – the exit button is enabled
Lock release time – the duration for which the lock remains released
Door open delay time – the time allowed for the door to be opened; otherwise, a “Door open too long” warning is generated
Door Sensor Mode
N/A
Normal Open/Close
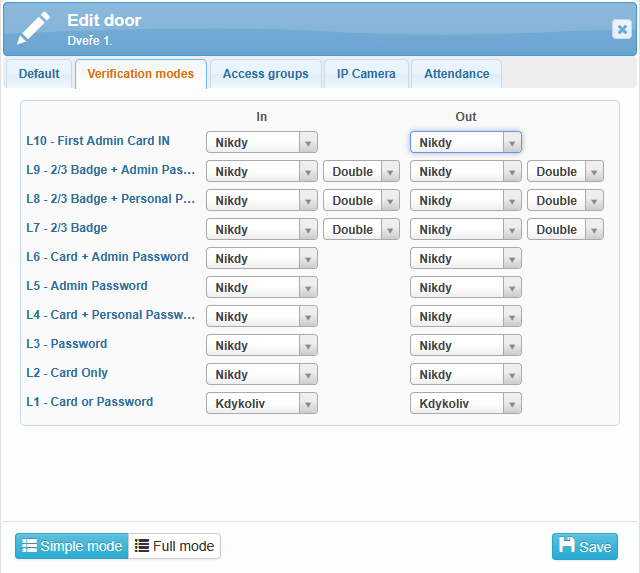
In the Verification Modes tab, you can configure the available authentication options.
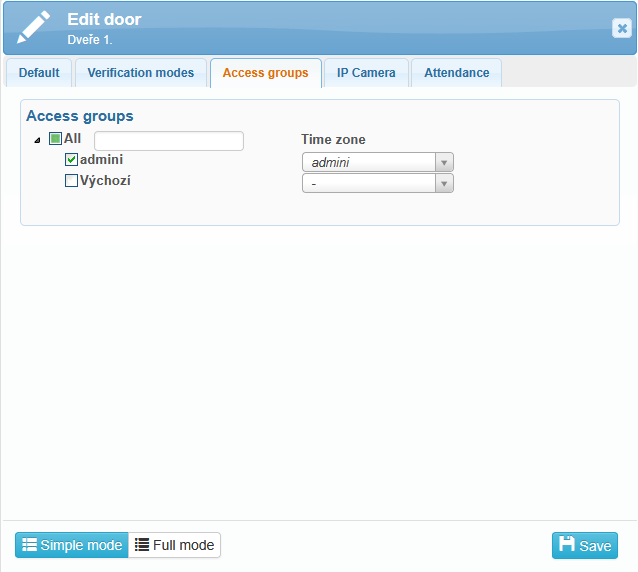
In the Access Groups tab, you define which user groups are allowed to access specific doors. Along with the access group, you also select a time zone that determines the time range during which access is permitted.
If you want to restrict access to specific access groups or time periods, you first need to configure these items in the Access Control tab located in the top menu bar.
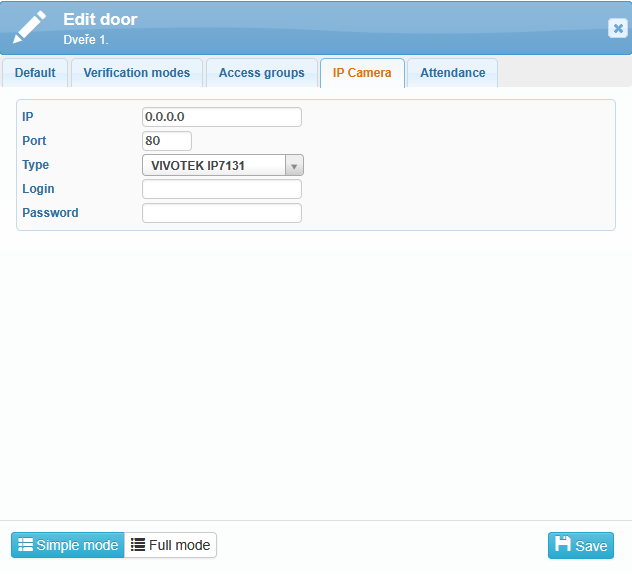
In the IP Camera tab, you can configure the parameters for connecting a camera to the system. The following details need to be entered:
IP Address – specifies the network address of the camera, allowing the system to locate and connect to it.
Port – defines the communication channel used between the system and the camera. Usually, the camera’s default port is used, but it can be adjusted based on specific configuration.
Type – specifies the camera brand or model, which is essential for proper communication (e.g. ONVIF, HIKVISION, etc.).
Login and Password – used to authenticate access to the camera. Enter the credentials of an administrator or a user with permission to view or manage the camera feed.
Correctly entered details are required for the system to fully utilize the camera — for example, to display live video, record footage, or capture snapshots during events.
Since this section deals with access settings, the Attendance tab allows you to specify whether access events should also appear in the attendance records.
If you select Attendance:
No – relevant presence information will appear in the Presence Overview, but the user’s entry/exit will not be counted in attendance records.
Yes (based on direction) – the access system is linked to the attendance system, and access events are recorded in attendance according to the Entry/Exit setting.
Yes (automatic) – the access system is linked to the attendance system, and access events are processed based on the user’s assigned work shift.