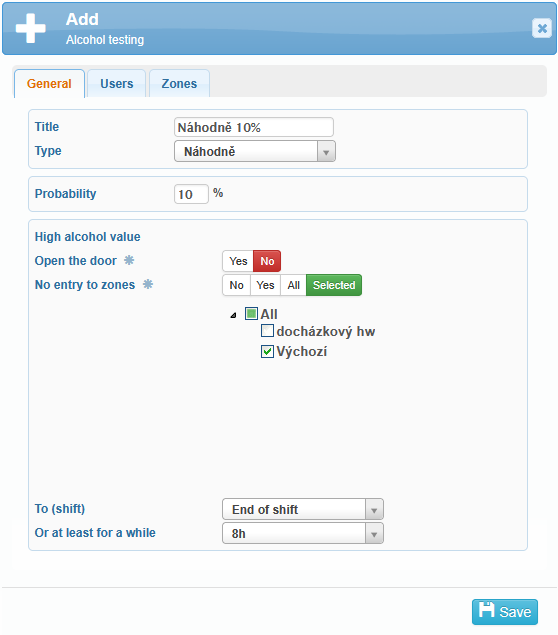
In the Administration, select Alcohol Testing. In the top left corner, you’ll find an icon ![]() to add a new alcohol testing configuration. After opening it, you can set the desired testing frequency in the General tab. In the drop-down menu Type, you can choose to test users randomly (in this case, also fill in the following field with the probability of testing a user), or set testing to always or never.
to add a new alcohol testing configuration. After opening it, you can set the desired testing frequency in the General tab. In the drop-down menu Type, you can choose to test users randomly (in this case, also fill in the following field with the probability of testing a user), or set testing to always or never.
For any kind of testing, it is also necessary to decide whether users with a high alcohol level will be allowed to open doors. If you don’t want positively tested users to access certain areas, use the Selected icon. Select Selected and check the areas to restrict, or choose Yes or All to block access to all areas.
Access will be denied either to all or only selected areas, depending on the setting in the drop-down menu To (Shift). You can set either To the end of the shift (e.g. if the shift ends at 17:00 and has a 3-hour departure grace period, the user will regain access at 20:00), or To the start of the next shift (e.g. if the next shift starts at 8:00, the user will be allowed access from 6:00).
If a user blows a high alcohol level when leaving work or before the end of their shift timeout, and the To end of shift option is selected, the Or at least for a while rule will apply. For example, if the user tests positive at 17:30 and the minimum duration is set to 8 hours, they will regain access at 1:30.
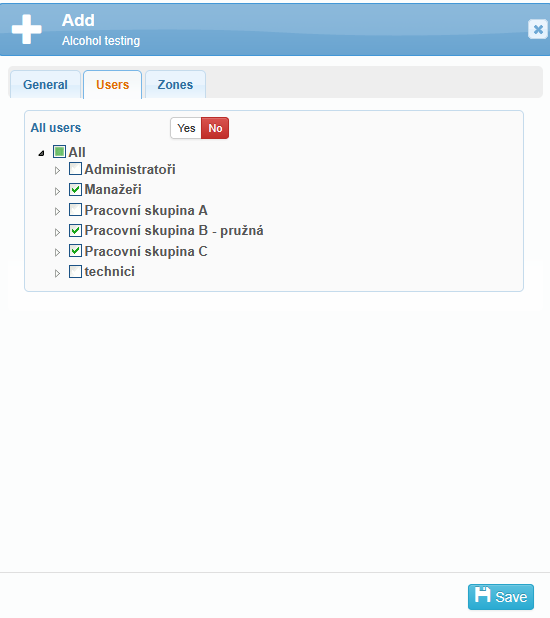
In the Users tab, you can configure whether all users should be tested or only selected users.
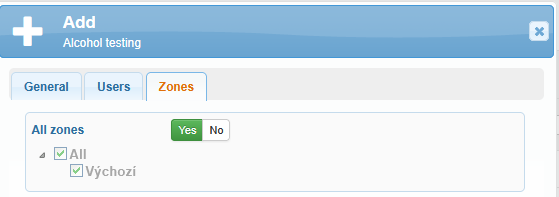
In the Zones tab, you select the areas to which the chosen testing rule applies.
The configured testing requirements, including the assigned users, are clearly listed on the main page.
